Your eyes have it. They are the first thing most people notice when they meet you, and you want them to make a bold impression!
It feels like applying eye makeup is pretty intuitive, for the most part. That is, until you step outside or check Instagram only to see just how much better you could be. You might watch YouTube tutorials, or follow makeup artists, but there are always more insider tricks you can use to amp up your eye game.
But before we get into the step-by-step process, there are a couple secrets to ensuring the eye makeup lasts:
- Choose a good quality eyeshadow primer, and a good quality eyeshadow. A good primer can make or break your look. Use it as the base and your eyeshadow will stay put through rain, sweat, and even the heaviest of oily days.
- When it comes to eyeshadows themselves, far too many barely show up on the lid or disappear within a couple hours. That’s the reason for price differencing . And if you find a great pigmented shadow you like, stick with it. From there, have fun exploring the various color palettes (and brands) available
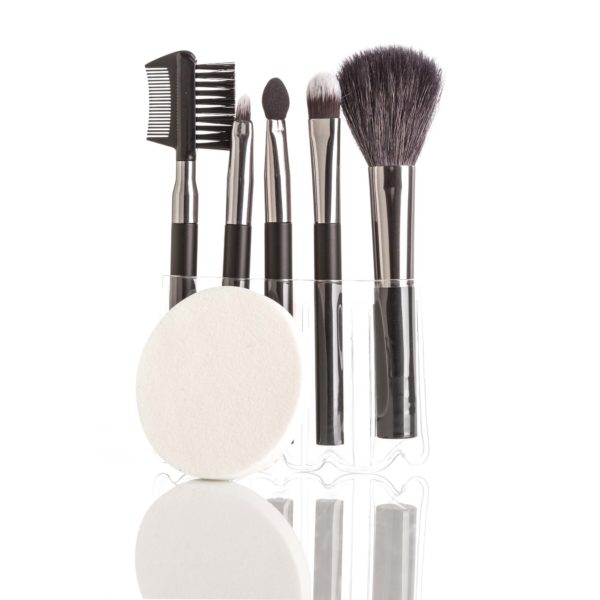
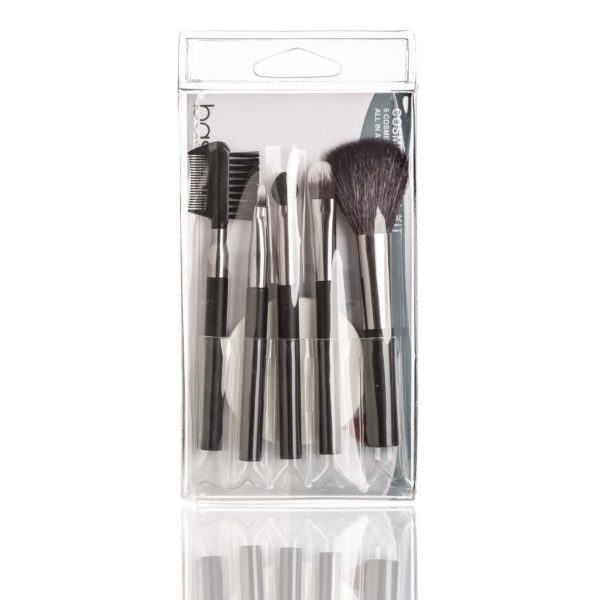
It’s not enough to have beautiful shadows, liners and brow pencils. Just like a mechanic needs the right tool for the job, you need the best eye brushes for creating all kinds of different looks. For that purpose, our SIGNATURE eye brushes line will help you amp up your eyes for the most dramatic and flawless results!

1. Apply Concealer
Your goal with this first step is to even out the color of the skin around your eyes. This means applying concealer and dotting it with your SIGNATURE Concealer & Shading Brush to the blue-ish, purple-y places around and, in particular, under your eyes.
When to use it: To apply (and diffuse) liquid or cream concealer.
How to use it: Load the bristles with product and tap it over any areas that need extra coverage
Why you use it: The small brush head reaches all of the nooks and crannies of your face, while the fluffy bristles lay down more concentrated pigment than your fingers.
If you have perfect, non-bluish skin, congratulate yourself and move on to the next step. Don’t use concealer under your eyes if you don’t need it. It’s a huge mistake that reduces the depth of your face if you overdo it. If you do need concealer, apply three dots under each eye, starting at the inner corner where skin tends to be darkest. Place another dot under the pupil, and the third on the outer edge. Finally, pat—do not rub—the concealer in with your ring finger.
2. Prime Your Lids
You want to prime walls before you paint, and you want to prime your eyes before you apply makeup.
Why? Primer does what it implies—primes—which allows makeup to go on smoothly and last longer. Eyeshadow primer is the secret to keeping your shadow in place for hours. It will keep the shadow looking great through just about anything; although we don’t recommend you wear eyeshadow to the gym or to sleep. Let your face breathe!
3. The Actual Shadow
You don’t need convincing, at this point, as to why eyeshadow is great. Apply the perfect single layer of color for beautiful eyelids with our SIGNATURE Shading Brush.
When to use it: To apply a base color (beiges, creams or any other light neutral shades) to your eyelids.
How to use it: Swirl the brush over your eye shadow, tap off any excess and sweep it onto your lids, starting at the lashline and blending up toward your brows.
Why you use it: With a tapered head that easily fits the small space of your lids and super fluffy bristles, this brush lays down an even layer of color for any eye look.
For daytime, you might find it best to use a basic light shadow on your lid and nothing else. Light eywshadows are discreet but also flashy enough to just barely give away the fact you’re wearing makeup—expect plenty of compliments.
For a bit more drama, try a three-toned palette and build from the lids to brow. Makeup artists says that you want to blend them into each other sort of like a rainbow:
- Start with a light color that almost matches your lid, sweeping it across the lid and up to your brow bone.
- Follow that a medium color—across your lid only.
- Finally, build on this with a darker color in the crease, and then blend like your life depends on it
4. Highlight the Inner Eye
This step is a former makeup artist secret that’s only become particularly popular in past years. You’ll want to use it all the time once you see the results, though:
Blend a bit of your lightest eyeshadow (whatever it is) into the inner corner of your eye. It’ll brighten your eyes, and even your face, significantly. There’s not even a brush needed! You can even just dab a finger into the shadow, and then press it into the inner corner where upper lid meets bottom lid.
5. Line the Eyes
If you’re going for a casual daytime look, you can skip this step. You can also skip it if you have particularly thin or light lashes that liner will overpower. But there is something alluring about a nicely lined eye. Liners make your eyes pop and, if you blend correctly, won’t be too obvious.
You can use liquid liners or an eye pencil, but lots of people prefer to use dark eyeshadows for a little less neat of a look. To do this, use our SIGNATURE Angled Eyeliner Brush.
When to use it: To apply powder or gel eyeliner.
How to use it: Dip the brush into your eyeliner, and starting at the inner corners of your eyes, sweep it across your lid until you reach the outer corners.
Why you use it: The stiff, angled bristles make it easy to create thin, sharp lines.
Line your eyes as close to the upper lashes as possible, from the inner corner to the outer corner. Follow with liner below your eyes. Smudge the bottom line with a cotton swab, as you don’t want a prominent line.
6. Highlight Your Brows
Take the same light eyeshadow and dab it on your brow bone, focusing on your mid-brow outward.
To blend it, beauty addicts will want to use our SIGNATURE Angled Eyebrow Brush designed to allow you to fill in, shape & define your perfect brow with professional precision.
Simply apply product to the angled edge of the brush and use it to create short, even upward strokes to fill in sparse brow areas, mirroring the pattern of natural hair growth. Draw with the fine tip to create more definition if desired.
7. Curl Your Lashes
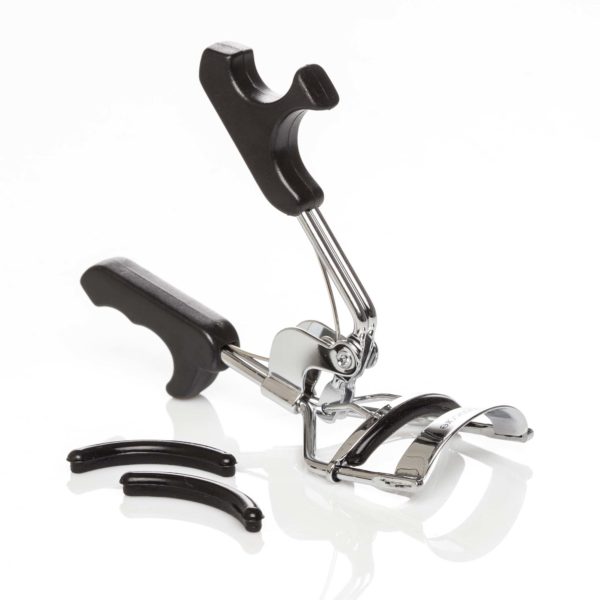
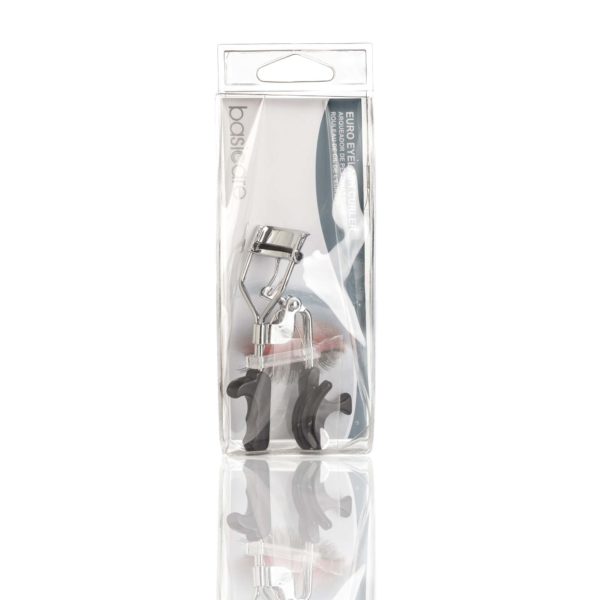
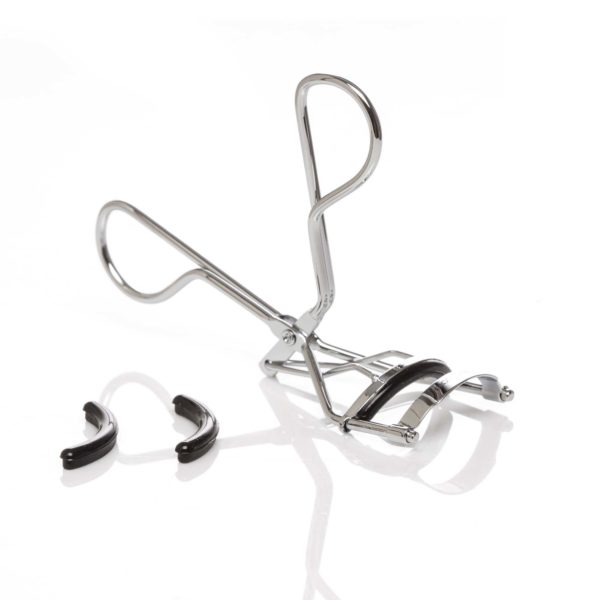
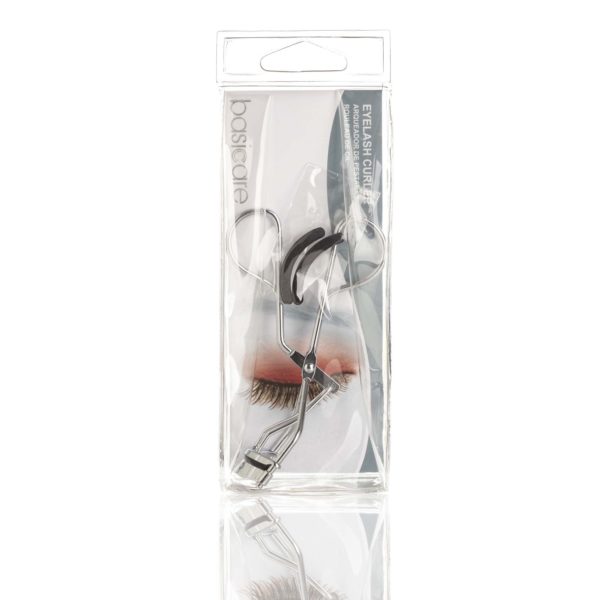
Get the best out of your eyelashes with our SIGNATURE Eyelash Curler. This ultimate cosmetic tool will get you instant glamorous eyes and will make even the longest and fullest lashes look even better!
For added effect, you can heat the curler under a blowdryer for a couple seconds. It can make your eyelashes look bigger, fuller, and they’ll curl better. but be careful because you don’t want to burn your eyelashes off!
8. Apply Mascara
Finally, your look will always be best topped off with a little mascara. Simply place the wand of your mascara brush at the bottom of lashes, and wiggle it back and forth while running it upwards. Follow it with another few sweeps of the wand, and apply it to your bottom lashes as well.


